


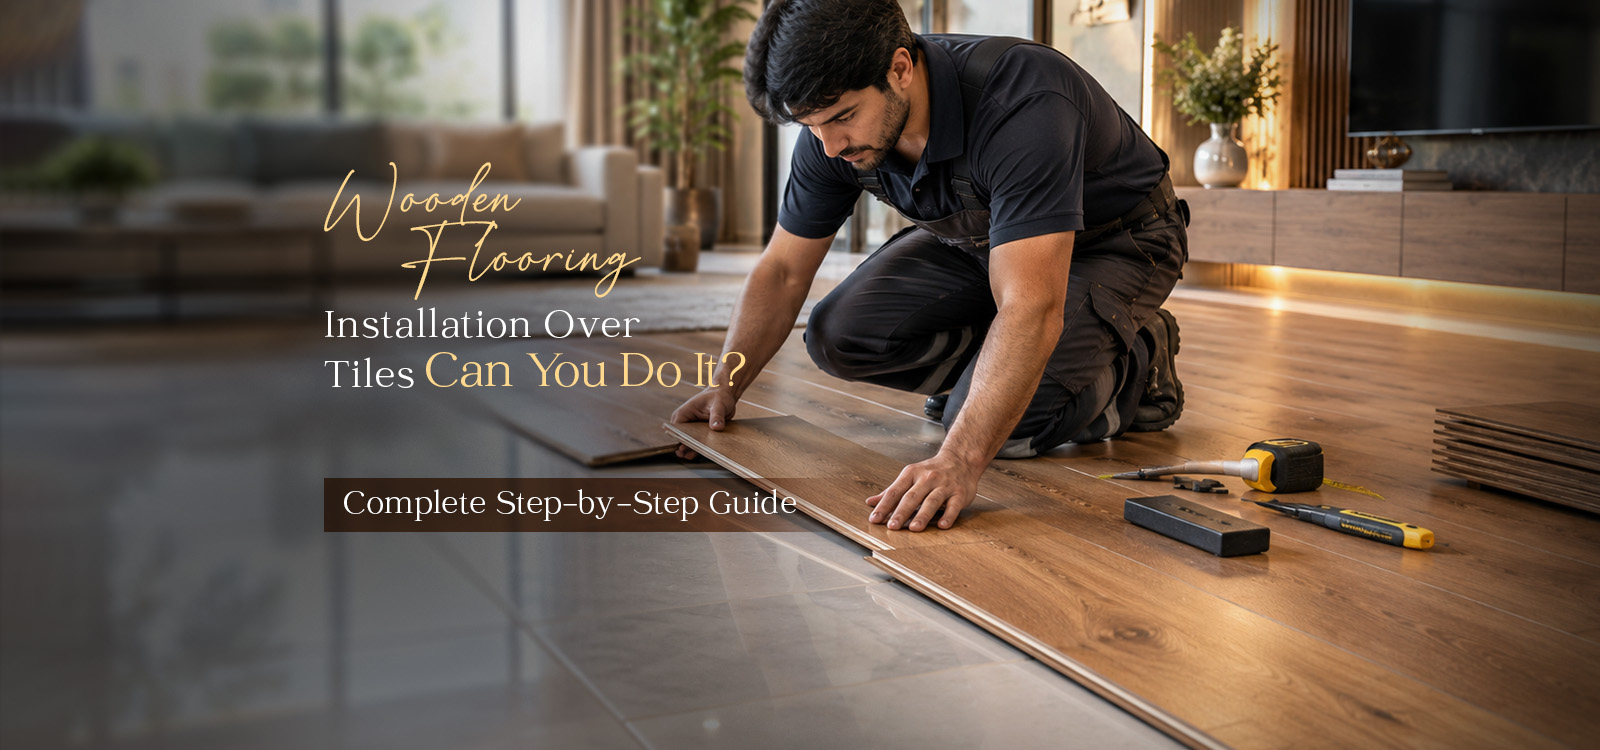
Wooden Flooring Installation Over Tiles: Can You Do It? Complete Step-by-Step Guide

Yes, you can install click-lock wooden flooring over tiles without pulling up the old floor first. Laminate, engineered wood, and SPC flooring can all be options, depending on the product. The tiles must be firm, dry, and reasonably level. Once the floor has been checked and prepared, the new planks can be fitted over it, saving the mess of breaking and removing tiles.
Why Laying Wood Flooring Over Tiles Is Popular in India
Removing old tiles is noisy, messy, and adds another job to a home renovation. Leaving them in place can make the work simpler, especially in an occupied flat.
- Less mess: There is no need to break up the old tiles, so the work creates far less dust and noise.
- Less time on site: A 500 sq. ft. room may take one to two days to finish, depending on the floor and room layout.
- Lower removal costs: Tile breaking and disposal can add around ₹15–₹30 per sq. ft. to the bill, depending on the contractor and location.
- Useful for rented homes: A floating click-lock floor can usually be taken apart later, leaving the original tiles underneath if they were in good condition.
So, can you lay wooden flooring on existing tiles? Yes, provided the tile base is firm, dry, stable, and level enough for the selected system. Homeowners can explore the Royale Touche wooden flooring collection while comparing plank thickness, abrasion ratings, Waterlock options, and installation requirements before deciding which floor is suitable to lay over an existing tiled surface.
Pre-Installation Inspection Checklist
Before buying the flooring, walk across the room and check the old tiles. A loose tile or an uneven patch may not seem like a big issue now, but the problem can become noticeable once the new floor is fitted.
| Checklist item | What to check | What to do if there is a problem |
| Floor level | Around 3 mm variation or less over 10 feet, subject to the product instructions | Level low spots with a suitable compound |
| Tile condition | No loose tiles or hollow-sounding patches | Repair or replace loose tiles |
| Grout lines | Deep grout lines that could affect the new floor | Fill and level them with a compatible product |
| Moisture | The floor meets the flooring manufacturer’s moisture limits | Find the cause of dampness and use an approved barrier if needed |
| Door clearance | Enough room for the extra floor height | Trim the door if required, after checking the final height |
The height clearance for flooring over tiles is easy to overlook. Add together the thickness of the planks, underlay, and any moisture barrier before ordering. Even a small increase in floor height can stop a door from opening freely.
Step-by-Step Installation Process
The work involves cleaning the tiles, dealing with uneven patches, fitting the right underlay, joining the planks,s and finishing the edges.
Step 1: Clean and Level the Tile Floor
Sweep the floor and vacuum the corners, grout lines,es and edges. Small bits of grit left underneath can cause noise or affect how the planks sit.
Tap the tiles and look for loose or hollow areas. Repair damaged sections before moving ahead. Run a straightedge across the floor to find dips or raised spots. This part of subfloor preparation is worth doing properly because the new flooring cannot hide a badly uneven base.
Deep grout joints may also need grout line leveling. Fill them with a product suitable for the flooring system and let the surface dry before laying anything over it.
Step 2: Lay the Moisture Barrier and Underlay
Check the flooring instructions before adding a moisture barrier. Some installations need one; others may have different requirements. If a barrier is recommended, use an approved damp-proof membrane and overlap or seal the joints as instructed. A plastic sheet will not fix an existing leak or a damp floor.
Next comes the underlayment for a wooden floor over tiles. A 2–3 mm IXPE foam layer works with some floating floor systems, but do not choose it by thickness alone. The underlay must be approved for the flooring being installed. If the planks already have an attached backing, an extra layer may not be suitable.
Step 3: Place the Planks and Lock Them Together
Plan the first row before opening all the packs. Running the planks in the direction of the main light source often gives the room a more even look. Follow the product instructions for the starting wall and layout.
With click-lock wood flooring over ceramic tiles, the plank edges are joined using the locking system built into each piece. The angle and movement depend on the product, so follow the fitting instructions rather than forcing the joints. Keep the rows straight and stagger the end joints as recommended.
When installing laminate flooring over old tiles, use the underlay and fitting method specified for that laminate. Engineered wood and SPC planks may have different requirements, so one installation method should not be assumed to suit every floor.
Step 4: Leave Expansion Gaps and Finish the Edges
A floating floor needs room to move as temperatures and humidity change. Leave the gap specified by the manufacturer around walls, columns, and other fixed objects. For many products, this is around 8–10 mm. Skirting can cover the gap, but it should not press down on the floor and stop it from moving.
Use transition strips at doorways or between rooms where the flooring instructions call for them. Check the finished height before trimming any doors. Door trimming may be needed if the bottom catches on the new floor. A properly fitted skirting transition gives the edges a neat finish.
Potential Pitfalls and How to Avoid Them
A few checks before installation can save time and repair work later.
- Doors catching on the floor: Measure the added height before ordering. Check doors, built-in cupboards and other low fixtures.
- Squeaks underfoot: Loose tiles and uneven patches can cause movement. Repair the base and use the correct underlay before fitting the planks.
- Floorboards lifting or buckling: A floating floor needs room to expand. Gaps that are too small or edges trapped under fixed fittings can cause trouble.
- Dampness beneath the flooring: Do not cover a leak or a persistently damp floor. Find and fix the cause before installation.
Conclusion
Retaining the old tiles can make a flooring upgrade less disruptive, but the surface still needs proper preparation before the new planks are installed. Royale Touche’s festive wooden-flooring renovation guide also notes that click-lock laminate, SPC, and some engineered wood systems can be installed over existing tiles when the base is suitable, level, and soundly constructed.
Frequently Asked Questions
1. Can wooden flooring be installed directly on old vitrified tiles?
Yes, if the tiles are firm, dry, and level enough for the type of flooring you have selected. Check the manufacturer’s directions to see if you need an underlay or moisture barrier.
2. Do existing tiles need to be removed before installing engineered wood flooring?
Not always. Some engineered wood systems can go over tiles, but the floor condition, moisture level, and product instructions must be checked first.
3. How much height does wooden flooring add over existing tiles?
The extra height depends on the plank, underlay, and moisture barrier. Check the combined thickness to make sure doors still open and the new floor meets adjoining rooms properly.
4. Will wood flooring damage the original tiles?
A floating click-lock floor generally leaves the tiles beneath undisturbed. However, loose tiles may need repair, and some damage is possible during installation or removal.
5. What is the cost of laying a wood floor over tile in India?
The cost of laying wood floor over tile in India varies with the flooring type, room size, labour, underlay, and surface repairs. Ask for a quote that lists preparation, installation,n and finishing separately.