

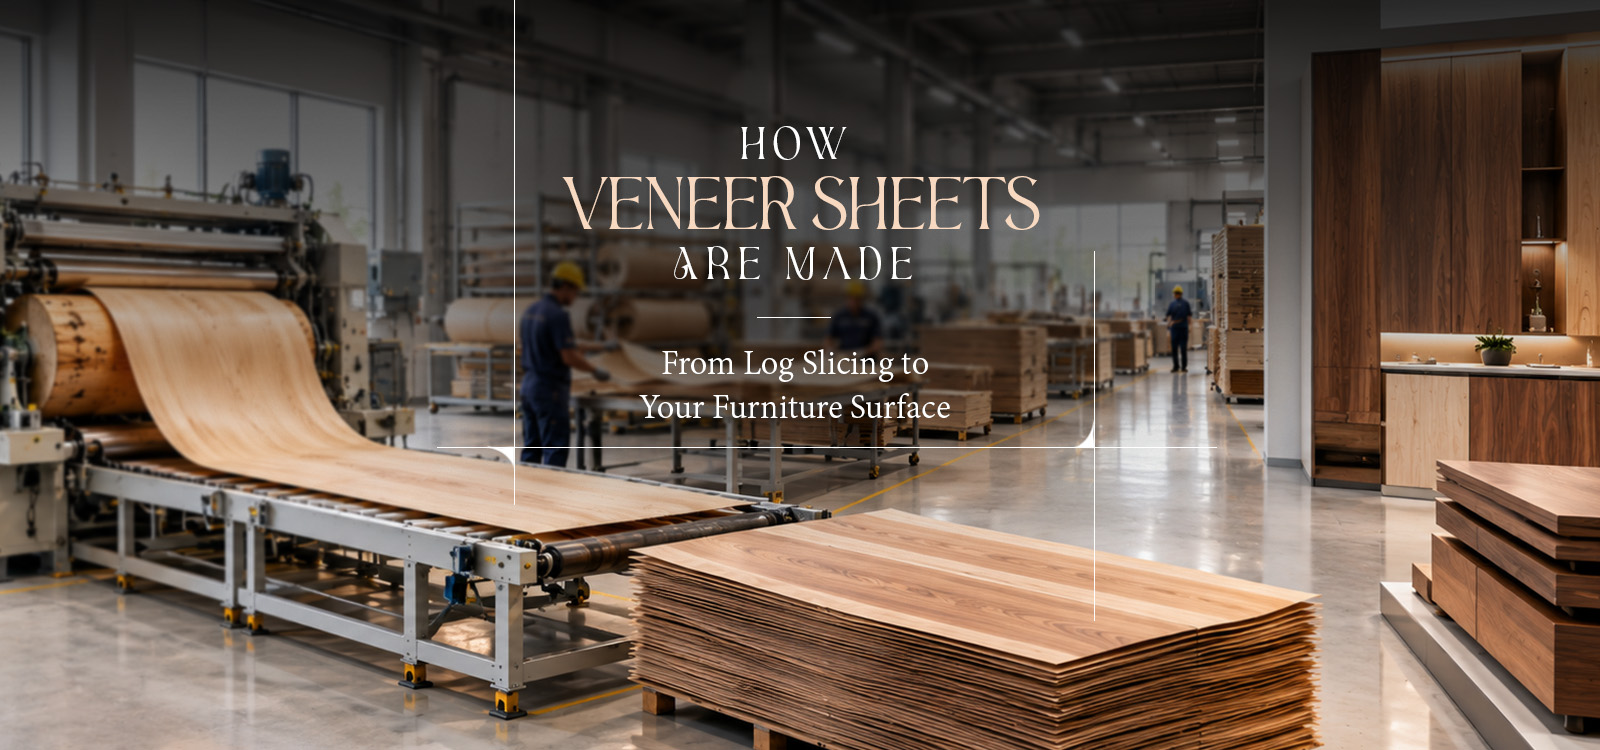
How Veneer Sheets Are Made: From Log Slicing to Your Furniture Surface

Look closely at a wooden wardrobe or cabinet, and you may notice that the grain runs across the surface in a continuous pattern. That surface might not be solid wood. It could be veneer: a thin slice of natural timber attached to plywood, MDF or another base material.
How veneer sheets are made depends on the type of timber, the way it is cut, and how the thin leaves are handled after slicing. Most decorative veneer is around 0.5 mm to 1 mm thick. Although the sheets are thin, they retain the natural grain and colour variations of the original wood.
The Step-by-Step Veneer Manufacturing Process
A log cannot go straight from the forest to a furniture panel. It needs to be prepared, cut,t and dried before the veneer can be joined to a backing sheet.
Step 1: Log Selection and Debarking
Manufacturers choose logs based on their size, grain and condition. Straight grain and fewer visible defects are often preferred for decorative work, though the requirements vary with the wood species and the finish being produced.
The bark is stripped away, and dirt, grit, and loose material are removed. Even small particles can damage a blade or leave marks during cutting, so cleaning is a practical part of preparing the timber.
Step 2: Soaking and Steaming
Before a log is sliced, it may need to be softened. Some manufacturers soak the timber in hot water, while others use steaming vats. The heat makes the wood easier to cut into thin leaves and can help prevent the edges from tearing during slicing.
Treatment varies with the timber. Temperatures may range from 60°C to 90°C, and some logs need 24 to 72 hours of treatment. Larger logs and different wood species may require different conditions. The aim is to soften the timber without changing its natural colour more than necessary.
Step 3: Precision Slicing Techniques
The way a log is cut determines much of the pattern seen on the finished furniture. Different slicing techniques for veneer expose the wood’s growth rings in different ways.
| Slicing method | How the wood is cut | Typical grain pattern |
| Crown or flat slicing | The knife cuts through the timber in a plane parallel to the centre | Curved, cathedral-like arches |
| Quarter slicing | The log is positioned to produce cuts at a suitable angle to the growth rings | Straight, narrow grain lines |
| Rotary peeling | A rotary lathe turns the log against a continuous blade | Broad, flowing or wavy patterns |
| Rift slicing | The timber is cut at an angle to the wood rays | Fine, relatively straight grain with little ray fleck |
The difference between rotary-cut and crown-cut veneer is visible in the grain. A product such as Sessile Prime Oak veneer demonstrates precision crown cutting, where slicing reveals rhythmic crown formations rather than the broader, more irregular grain commonly associated with rotary peeling.
These patterns are not identical from one log to another. Natural variations in growth, colour and texture remain visible even when the same cutting method is used.
Step 4: Drying and Moisture Control
A freshly cut veneer leaf holds considerable moisture. It is passed through industrial roller or jet dryers to bring the moisture content down before further handling.
A target of around 8% to 12% is common, although the required level varies with the timber and the production conditions. If the leaves dry too quickly, they can crack or curl. If they retain too much moisture, bonding may become difficult, and the sheets may not remain stable.
Drying needs to be even across the leaf, particularly when the veneer is intended for large furniture panels.
Step 5: Flitch Assembly and Trimming
After drying, the leaves are sorted by colour, grain and visible markings. Leaves cut from the same log are often kept in the order they came off it. Together, these related leaves form a group known as a flitch.
Keeping the leaves in sequence makes it easier to arrange them so the grain continues across a furniture surface. Workers check the edges and cut away damaged or uneven sections with guillotine clippers. The leaves can then be paired in different ways: book matching creates a mirrored pattern, while slip matching places the leaves side by side in the same direction.
Step 6: Splicing and Substrate Bonding
A single veneer leaf may be too narrow to cover a cabinet door or large panel. Manufacturers join the edges of several leaves to create a wider sheet. Standard sizes, including 8 × 4 ft panels, can be prepared where required.
During veneer backing and pressing, adhesive is applied between the veneer and a base such as plywood or MDF. The panel is pressed under controlled conditions to hold the layers together. The adhesive and pressing method must suit the materials being used; poor bonding can lead to bubbles, loose edges, or separation.
By this point, how veneer sheets are made has moved from cutting natural timber to preparing a surface that can be used in furniture production.
Why Veneers Are More Sustainable Than Solid Wood
Veneer uses a thin layer of natural wood for the visible surface, while a supporting panel provides much of the structure. This can make better use of decorative timber than building an entire furniture component from solid wood of the same species.
The amount of usable veneer varies with the log’s size, quality, species, and thickness of the cut. Defects and trimming also affect the yield, so a fixed claim about how many times more surface a log can cover would not apply to every case.
The advantage is straightforward: valuable timber can be used where its grain is visible, while a suitable backing forms the rest of the panel. Veneer still requires energy, adhesives and supporting materials, but efficient cutting and careful matching can reduce avoidable waste.
Conclusion
How veneer sheets are made comes down to preparing the log, choosing a cutting method, drying and sorting the leaves, and bonding the finished veneer to a suitable base. Royale Touche’s step-by-step veneer manufacturing guide follows this process from log selection and slicing through drying, grading, treatment, and finishing, providing additional context on how raw timber becomes an interior surface.
FAQs
1. How thin is a standard wood veneer sheet?
Decorative veneer is commonly around 0.5 mm to 1 mm thick. The exact thickness depends on the product and its intended use.
2. How many veneer sheets can be produced from a single tree log?
There is no set number. Log size, wood species, defects, cutting method, and veneer thickness all affect the yield.
3. What is the difference between rotary cut and crown cut veneer?
Rotary-cut veneer is peeled from a log as it turns against a blade. This produces a continuous sheet, often with broad, irregular grain. Crown-cut veneer has curved, arch-shaped markings. The appearance of both depends on the timber being cut.
4. Why are logs steamed before slicing into veneer?
Some logs need softening before they can be sliced cleanly. Steam heats the wood and makes it easier to cut into thin leaves. The treatment time varies with the type of timber and the size of the log.
5. How is veneer glued onto plywood backing?
The veneer is laid over the plywood with adhesive between the two surfaces. Pressure holds the layers together while the glue sets. If the plywood is uneven or the adhesive is unsuitable, the veneer may not stick properly.