


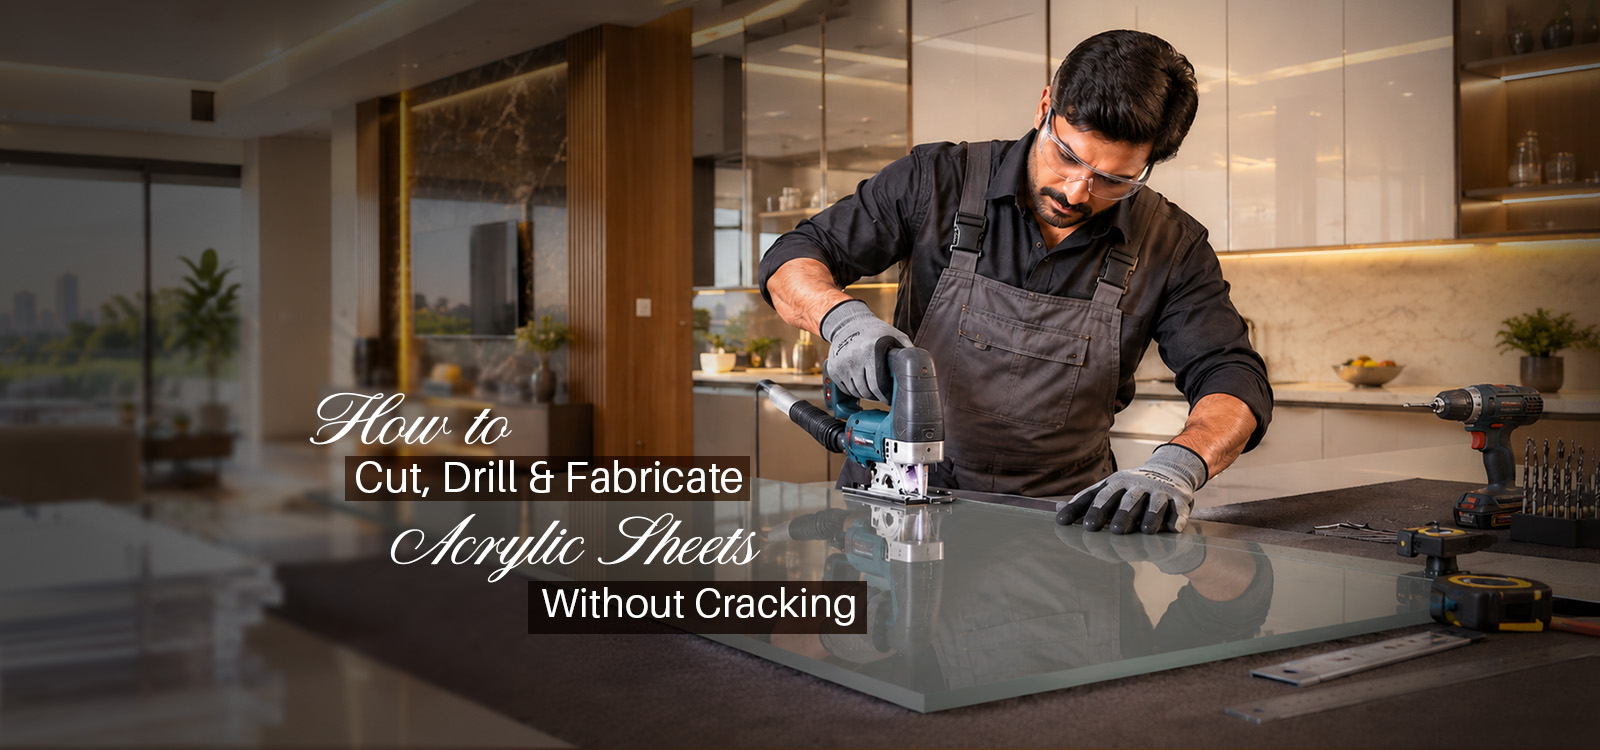
How to Cut, Drill & Fabricate Acrylic Sheets Without Cracking

Acrylic sheets are easy to damage if you cut them with the wrong blade or push a drill bit through too hard. A thin sheet can often be cut with a hand scoring tool, while a thick one may need a saw. Drilling needs similar care because the bit can catch the plastic and split it around the hole. If you’re learning how to cut an acrylic sheet, start by checking its thickness and deciding whether you need a straight cut, a curved cut, or a hole.
Why Acrylic Cracks During Fabrication
Acrylic cracks for a few common reasons, and most have to do with the way the tool touches the sheet.
- Heat builds up: The blade or drill rubs against the plastic. Too much friction softens the surface, leaving a melting edge. The edge may turn rough or crack as it cools.
- The drill bit catches: Some ordinary wood and metal bits bite into acrylic instead of removing the material gently. The sheet can lift with the bit and split.
- The saw chips the edge: Coarse teeth can pull at the plastic rather than cut it cleanly.
- The sheet bends: Acrylic needs support while you work. If it flexes under pressure, it may crack near the cut or hole.
Tool Selection Guide for Acrylic Fabrication
You don’t need every tool on the market. The right fabrication method depends on acrylic thickness, whether the sheet is solid or substrate-backed, and whether you need a straight cut, drilled hole, or finished edge. Royale Touche’s acrylic sheet thickness guide provides useful context on how 1 mm, 1.5 mm, 2 mm, and thicker acrylic constructions differ before cutting or drilling begins.
| Job | Tool to Use | Avoid |
| Straight cuts under 3 mm | Acrylic scoring knife and steel ruler | Standard utility knife |
| Straight cuts over 3 mm | Circular saw or jigsaw with a suitable blade | Coarse wood saw blade |
| Drilling holes | Step drill bit or a bit made for acrylic | Standard 118° metal twist bit |
| Smoothing cut edges | 220–800 grit wet sandpaper and acrylic polish | Heavy rasp or rough file |
For a power saw, look for a carbide-tipped blade made for plastic. Some fine-tooth blades with 60 or more teeth work well with acrylic, but the blade must match the saw and sheet thickness. Check the manufacturer’s instructions before cutting.
Step-by-Step Cutting Techniques
1. The Score-and-Snap Method for Thin Sheets
The score and snap acrylic technique works for straight cuts on suitable sheets up to 3 mm thick. It needs a scoring knife, a metal ruler, and a firm table.
- Leave the protective film on the sheet and mark the line you want to cut.
- Hold a metal ruler along the line so it cannot slide.
- Run the acrylic scoring knife along the ruler several times. Keep following the same groove until it is roughly one-third of the way through the sheet.
- Move the sheet to the edge of a table, lining up the groove with the edge.
- Hold the larger section down and press the overhanging piece firmly until it snaps off.
Don’t try to break the sheet if the groove is too shallow. Score it a few more times. Wear safety glasses, and keep your fingers away from the line where the acrylic will separate.
2. Cutting Thicker Sheets with a Saw
For thick sheets, long cuts,s or repeated pieces, a saw is usually more practical. This is where the acrylic sheet depends on having the right blade and keeping the material from moving.
- Fit a circular saw or table saw with a blade made for acrylic or plastic. A suitable triple-chip grind blade may be recommended for this work.
- Lay the sheet flat, supporting it close to the cutting line as well as underneath.
- Clamp it so it cannot slide, but don’t tighten the clamps enough to damage the sheet.
- Move the saw through the material without rushing. Too much speed can chip the edge; excessive friction can soften it.
- Wait for the cut edge to cool before sanding it.
The acrylic sheet cutting saw blade should be suitable for both your machine and the sheet. Don’t assume that a blade meant for wood will give the same result on plastic.
How to Drill Holes in Acrylic Without Shattering
A hole can crack the sheet if the drill pulls at the material or the acrylic moves while you’re working. Here’s how to drill an acrylic sheet without cracking it.
- Mark the hole: Put masking tape over the spot and mark the centre on the tape. This masking tape prevention method can help protect the surface from scratches, but it won’t stop every crack.
- Support the back: Place a flat piece of scrap wood underneath the sheet. The wood supports the acrylic when the drill comes through the other side.
- Choose the bit carefully: A step drill bit or a drill bit designed for acrylic is a good starting point. Some specialist bits have a point angle close to 60 degrees.
- Keep the pressure light: Drill at a controlled, low speed. Don’t lean your weight on the drill, and stop to remove shavings if they collect around the hole.
- Leave space near the edge: As a starting guide, keep the hole at least twice its diameter from the sheet edge. Large holes and fittings that carry weight may need more space.
These details matter when learning how to drill acrylic sheet without cracking it for cabinet handles, display boards or screw fittings. Mark all the holes before drilling so you can check their distance from the edges.
Polishing Cut Edges to a Glass Finish
A cut edge may look white or feel scratchy even when the cut itself is straight. To get smooth edges on acrylic cut, rub the edge with 220-grit wet sandpaper first. Move to 400, 600, and then 800 grit, removing the marks left by the previous grade before moving on.
Wipe the edge clean and use a polish intended for acrylic if you want a clearer finish. Fabricated sheets still need careful handling after cutting and drilling, especially around polished edges and drilled holes. Royale Touche’s solid acrylic sheet range provides the relevant product specifications, finishes, and sheet options to review before planning fabrication for furniture, shutters, partitions, or decorative panels.
Conclusion
Thin acrylic can often be scored and snapped by hand. Thick panels usually need a saw, and holes need a drill bit that won’t grab the plastic. Take your time marking the sheet and securing it before you begin. A test cut on an offcut can save you from ruining the full panel.
Frequently Asked Questions
1. What is the easiest way to cut an acrylic sheet at home?
For cutting an acrylic sheet at home DIY, a scoring knife is usually the simplest tool for a suitable sheet up to 3 mm thick. Mark a straight line, score along a ruler several times, and snap the sheet over a table edge. For thicker sheets, use a saw made for acrylic.
2. Why does acrylic crack when I drill a hole in it?
The bit may be pulling at the plastic, or the sheet may be bending while you drill. Put scrap wood underneath, use a bit made for acrylic, and avoid pushing hard. A hole too close to the edge can also cause a crack.
3. What saw blade is best for cutting acrylic sheets?
Use a fine-tooth blade recommended for acrylic or plastic. A suitable carbide blade can give a cleaner cut than a coarse wood blade. Check the blade instructions before using it.
4. How do you smooth rough cut edges on an acrylic sheet?
Start with 220-grit wet sandpaper, then move to finer grades until the scratches are less visible. Finish with acrylic polish if you want a shinier edge. Sand evenly so one part doesn’t become lower than the rest.
5. Can you use a regular wood drill bit on acrylic?
Some wood drill bits can catch the acrylic and crack it. A bit made for plastic is a safer starting point. If you’re unsure about a bit, test it on a leftover piece rather than the sheet you’re using for your project.