

How to Prevent Laminate Peeling and Bubbling: Substrate & Adhesive Guide

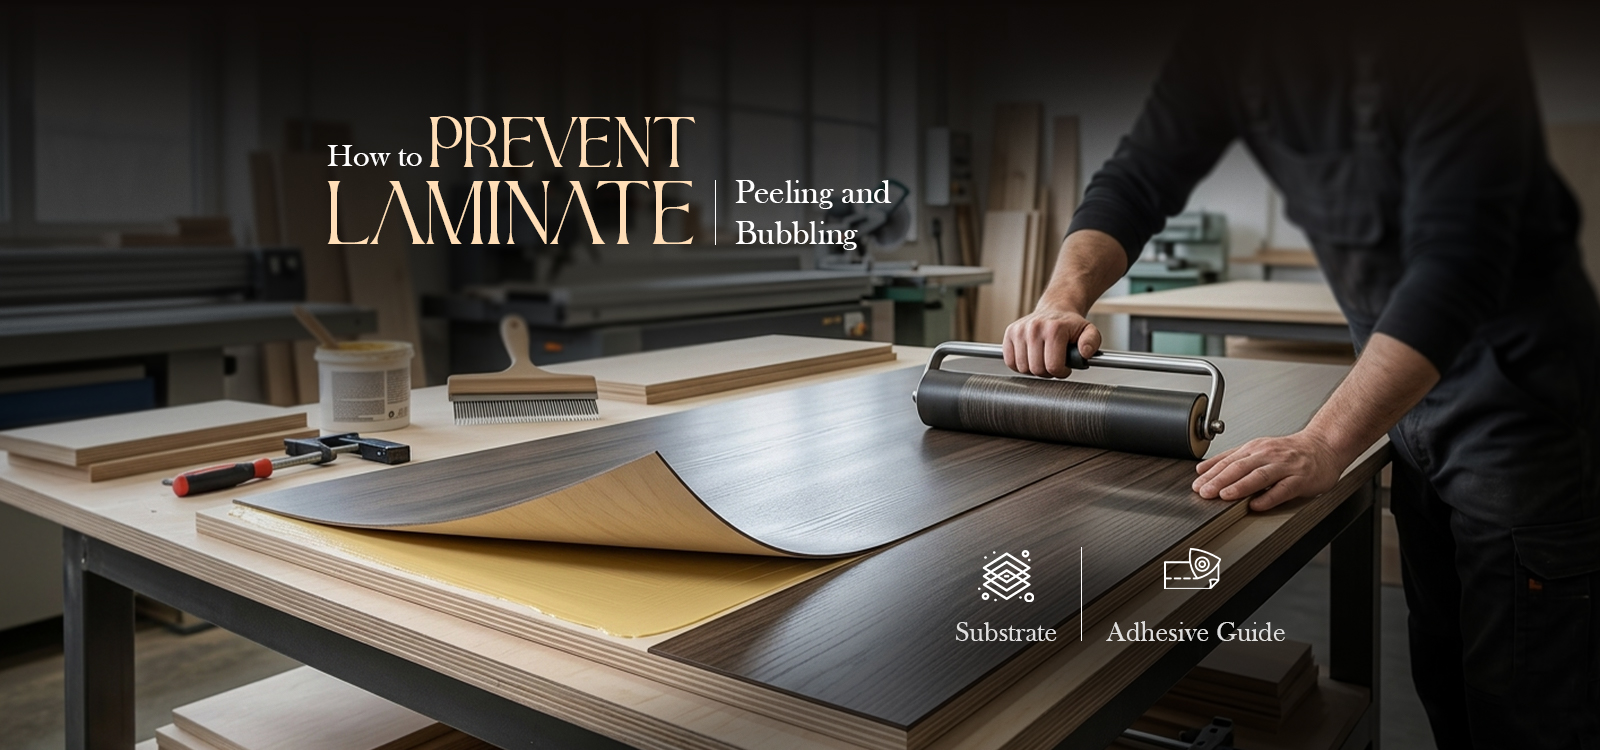
Bubbling and peeling of the laminate affects the appearance and durability of the modular furniture. Laminate bubbling causes include uneven adhesive application, inadequate pressing during installation, and moisture trapped in the substrate. To prevent laminate peeling, start with a dry, clean substrate, choose the right adhesive, and apply even pressure while bonding. Let us see here how to prepare the substrate, how to select the adhesive and practical methods to prevent delamination and edge peeling.
Top Causes of Laminate Peeling and Bubbling
The first thing to do to keep laminate from peeling is to understand why laminate does not bond properly.
- Substrate moisture: Moisture can get trapped under the laminate, creating air pockets and bubbles, particularly if the furniture is exposed to heat or humidity.
- Uneven adhesive application: If too little adhesive is applied (there are dry spots), the laminate may not adhere evenly.
- Inadequate pressing: If the carpenter is not applying enough pressure when pasting, air pockets can form between the laminate and the substrate.
- Poor surface preparation: Dust, oil, or an uneven substrate can reduce adhesion.
- Edge exposure: Poorly sealed edges allow moisture to get behind the laminate causing delamination.
Substrate & Adhesive Selection Matrix
Selecting the right board and adhesive combination is a key component of a reliable modular furniture peeling solution.
| Substrate Type | Recommended Adhesive | Pressing/Curing Time | Best Application |
| BWR Plywood | Premium waterproof PVA | 4–6 hours | Kitchen, bathroom vanity |
| HDMR Board | Synthetic resin adhesive | 2–4 hours | Wardrobes, TV units |
| MDF/Particle Board | Standard PVA | 6–8 hours | Budget furniture |
| Metal/Glass | Contact adhesive (SR) | As specified | Accent trims |
The best glue for pasting laminate depends on the substrate, application, and manufacturer’s instructions. Wooden furniture is often bonded together using either PVA glue or adhesives made from synthetic resins. Some non-porous surfaces can be good for contact adhesive.
Never assume that one adhesive will be suitable for all laminate applications. Always follow the application method, open time and curing requirements as recommended by the manufacturer for products from the wood adhesive Fevicol range.
Step-by-Step Substrate Preparation Checklist
Step-by-step guide how to installing laminates on plywood or MDF or “how to install laminates on plywood
- Sand the surface: Sand smooth the Plywood or HDMR surface to remove all dust, grease and loose particles.
- Check moisture: The substrate should be dry enough to receive the paste. A moisture meter can be used to verify moisture levels. The right limit is set by the application and the board.
- Apply adhesive evenly: Spread the adhesive that is recommended evenly, avoiding dry spots and excess puddles of adhesive.
- Position carefully: Position the laminate properly and avoid trapping any air between the two surfaces.
- Roll the surface: Work out any trapped air and get consistent contact by working from the center out to the edges with a J-roller.
- Secure the edges: Clamp, tape or press as needed and let the adhesive cure fully.
Do not rush the pressing time. Moving or bending the furniture or using it before the glue has a chance to cure properly can weaken the bond.
How to Fix a Laminate Bubble at Home
Renovating old furniture with new laminate or re-laminating over existing surfaces
Slitting and Glue Injection
For a small isolated bubble, carefully make a very fine slit along an inconspicuous part of the affected area. Apply a suitable adhesive beneath the laminate using a controlled amount, then press the area firmly with a roller or flat block. Remove excess adhesive and allow it to cure completely.
Iron-On Reheat Method
Gentle reheating can relax some bonds of adhesives. Cover the area with some protective paper and run a warm iron over the area for a short time to reactivate the adhesive and press the laminate flat.
Use this technique sparingly. Too much heat can damage laminate surfaces (especially high gloss or delicate finishes). If the laminate is badly warped, cracked or detached, it is generally safer to replace it than to patch it up time after time.
Conclusion
The best way to prevent laminate peeling is to think of installation as a system: choose the correct dry substrate, prepare the surface properly, use the right adhesive, apply even pressure and keep moisture away from exposed edges. These simple precautions can do wonders for laminate performance and help prevent bubbling, peeling and early delamination. With quality laminates such as those from Royale Touche, combined with proper substrate preparation and installation practices, these simple precautions can go a long way in ensuring lasting performance and preventing bubbling, peeling and early delamination.
Frequently Asked Questions
1. Why is my new wardrobe laminate bubbling?
New laminate in the wardrobe may bubble due to moisture in the substrate, uneven application of adhesive, air being trapped, not enough pressing or enough cure time.
2. What is the best glue to paste laminate on plywood?
Using a suitable PVA or synthetic resin adhesive for bonding laminate to wood can produce a strong bond. Use the laminate to select the adhesive, type of plywood, and manufacturer’s directions.
3. Can we paste laminate on damp or wet wood?
No. Be sure the substrate is dry before you paste. If moisture enters under the laminate it can weaken the bond between the adhesive and cause bubbling or peeling.
4. How do you fix a peeling laminate edge?
Wipe the area dry, clean off any loose material, apply suitable adhesive and press the edge firmly until the adhesive sets. If the substrate is wet and swollen, you will need to cut out the damaged area.
5. How long does laminate adhesive take to dry completely?
Drying and curing times will vary based on the adhesive and the application. Some products need to be under pressure for a few hours, others take less time to set. Always adhere to the adhesive manufacturer’s recommended pressing time and cure.